
Locally made
Choosing the 2026 best Stained Glass Window Kit for beginners is not simply about finding the largest box. A practical kit should make the first project feel manageable, not mysterious. It should include clear instructions, accurately cut glass, copper foil, solder, flux, and reliable hand tools. Safety essentials matter too. Eye protection, heat awareness, and proper ventilation belong in the decision.
This guide compares beginner kits through an experience-focused lens. We will examine glass quality, tool durability, project difficulty, replacement supplies, and the clarity of each instruction manual. A good kit should explain every stage, from arranging blue or amber pieces to smoothing foil around each edge. Small details matter. Uneven cuts can create frustrating gaps. Weak instructions can turn a peaceful weekend project into guesswork.
“Best” remains personal. A compact kit may suit a careful learner with limited space, while a fuller set may help someone planning several designs. I may favor usability over the biggest accessory count, because beginners often buy tools they barely use. That judgment deserves reflection. Prices, included materials, and product availability can change during 2026. Readers should confirm current specifications before ordering.
The goal is confidence, not perfection. Your first panel may show a crooked seam or two. That is normal. With honest comparisons and sensible safety guidance, a Stained Glass Window Kit can provide a reliable introduction to this detailed craft. Expect learning. Enjoy the glow.
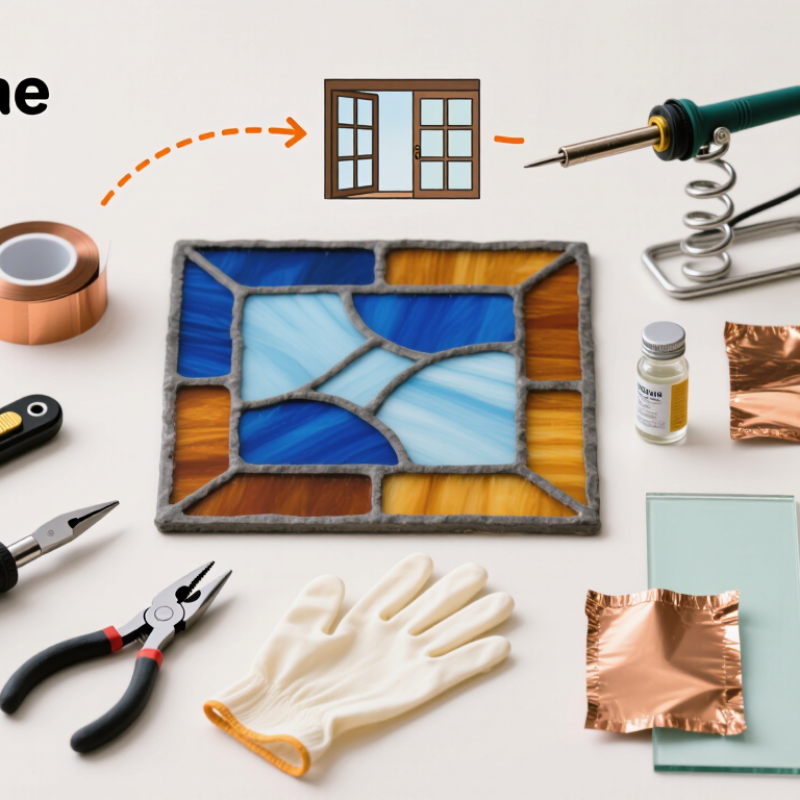
2026 Best Stained Glass Window Kit for Beginners?
What Makes a Stained Glass Window Kit Beginner-Friendly in 2026?
A beginner-friendly kit should reduce decisions, not add excitement through excess tools. A 2024 Grand View Research report valued the global arts and crafts market at about 43.9 billion dollars in 2023. Its projected 4.7% annual growth suggests more first-time makers are entering the hobby. That growth matters. New users need clear guidance, not a box of unexplained equipment.
Look for pre-cut glass, a small geometric pattern, copper foil, solder, and safety glasses. Pre-cut pieces remove the hardest early step: controlling a glass cutter. The instructions should show hand position, heating time, and cleanup. A stable soldering iron stand is essential. Ventilation also matters, especially during soldering. The U.S. Consumer Product Safety Commission repeatedly emphasizes protective equipment and safe tool handling in craft-related guidance. A kit may look simple, but hot metal is not forgiving.
Tips: Choose six to twelve glass pieces. Avoid intricate curves at first. Check whether the guide explains waste and mistakes. I would also buy spare foil. Beginners often misalign it. That small failure can teach more than a perfect first project. Some kits still include vague instructions, which is disappointing in 2026. A clear video guide, measured pattern, and replaceable materials make the learning process calmer and more reliable.
A practical comparison framework for evaluating beginner stained glass window kits without relying on company or brand information.
| Evaluation Dimension | Beginner-Friendly Benchmark | Recommended Kit Specification | Why It Matters for New Makers | Priority |
|---|---|---|---|---|
| Project Size | Small enough to complete on a compact work surface. | Approximately 15–30 cm (6–12 in) in its longest dimension. | Smaller panels require less glass, solder, storage space, and working time while still teaching the complete process. | 5/5 |
| Pattern Complexity | A limited number of clearly numbered pieces with uncomplicated outlines. | About 6–15 glass pieces, with mostly straight or gently curved cuts. | Fewer pieces reduce measuring, cutting, foiling, fitting, and soldering errors during the first project. | 5/5 |
| Glass Type | Thin, flat craft glass that can be cut with standard stained-glass tools. | Smooth or lightly textured sheet glass around 2–3 mm thick, supplied in several preselected colors. | Consistent thickness makes fitting easier and helps beginners learn how pressure and scoring affect a cut. | 5/5 |
| Pattern Guidance | A full-size, printable pattern with piece labels and a clear assembly order. | Pattern lines, numbered pieces, a cutting guide, and a finished reference image. | Accurate templates help users understand the relationship between the cartoon, glass pieces, foil, and solder seams. | 5/5 |
| Instruction Quality | Step-by-step instructions covering the entire workflow, not only assembly. | Guidance for scoring, breaking, grinding, copper foiling, soldering, cleaning, and hanging. | Beginners commonly need the most help with transitions between stages and with identifying mistakes before soldering. | 5/5 |
| Tool Coverage | The kit includes essential consumables and identifies any tools that must be purchased separately. | Glass, copper foil, solder, flux, pattern materials, and basic project accessories, with tool requirements listed clearly. | Transparent contents prevent unexpected purchases and make it easier to compare the true starting cost. | 5/5 |
| Soldering Requirements | A manageable amount of soldering with visible, forgiving seams. | A simple perimeter and a moderate number of interior seams; no highly detailed lead lines. | Soldering requires heat control and steady movement, so an uncomplicated design lowers the initial learning curve. | 4/5 |
| Safety Information | Clear warnings and protective guidance for sharp glass, heat, fumes, and chemical materials. | Instructions recommending eye protection, closed-toe footwear, ventilation, heat-resistant handling, and safe cleanup. | Stained glass involves sharp edges and heated materials; safety instructions are essential for responsible first-time use. | 5/5 |
| Workspace Needs | Suitable for a stable, well-lit home workspace with easy-to-clean surfaces. | A work area larger than the pattern, plus separate space for cutting and soldering. | Good lighting, stability, and separation of dusty and heated tasks improve accuracy and reduce avoidable hazards. | 4/5 |
| Project Duration | Short enough to maintain motivation but long enough to practice each core technique. | Roughly 4–10 focused working hours, excluding setup, curing, and cleanup time. | A realistic first project should provide meaningful practice without becoming too complicated or discouraging. | 4/5 |
| Display Method | The finished piece can be displayed without requiring structural installation. | A lightweight hanging option or a clearly explained method for adding one safely. | A simple display solution gives beginners a clear finish line and avoids unnecessary framing or mounting work. | 4/5 |
| Material Transparency | Contents, quantities, dimensions, and replacement requirements are stated before purchase. | A complete inventory with approximate material amounts and a separate list of reusable tools. | Clear specifications make it possible to judge value and prepare the workspace before opening the kit. | 5/5 |
| Best overall profile for a beginner in 2026: a small 6–12 inch project with 6–15 labeled pieces, a full-size pattern, complete process instructions, clearly disclosed tool requirements, and explicit safety guidance. The priority scores are an evaluation scale, not a product rating. | ||||